Project Introduction
The Harris Shutter Effect will help you learn more about Color Channels and some more advanced photography elements. This project will require the use of Photoshop Color Channels, as well as test your skill behind the lens. The process is much simpler now than it was when Robert Harris invented the technique using raw film, and will give you a deeper understanding of RGB color modes.
You will create at least one interesting Harris Shutter Effect photo either in the studio, or outside (your choice). The final product should be web optimized, which would make it 72dpi, and in RGB color mode. There are plenty of tutorials available online, some of which are good, others less so. As with most projects, I suggest you use a few of them, to find out which one you like best, or which produces the best results for you. Be sure that the dimensions and resolutions are correct before you put it in your portfolio!
The real trick here is to pick a SUBJECT that is moving, but in a SCENE that is static. You will get the full effect much better that way! TRY TO BE CREATIVE with this project. The difference between a good photo portfolio and a great one is being creative.
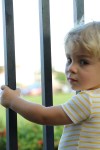
Example Before Pics
You can see here that my subject was shot in the studio, and the white balance on the photo was just a little off. I will correct this with a Curves Adjustment before I move too far along the project.


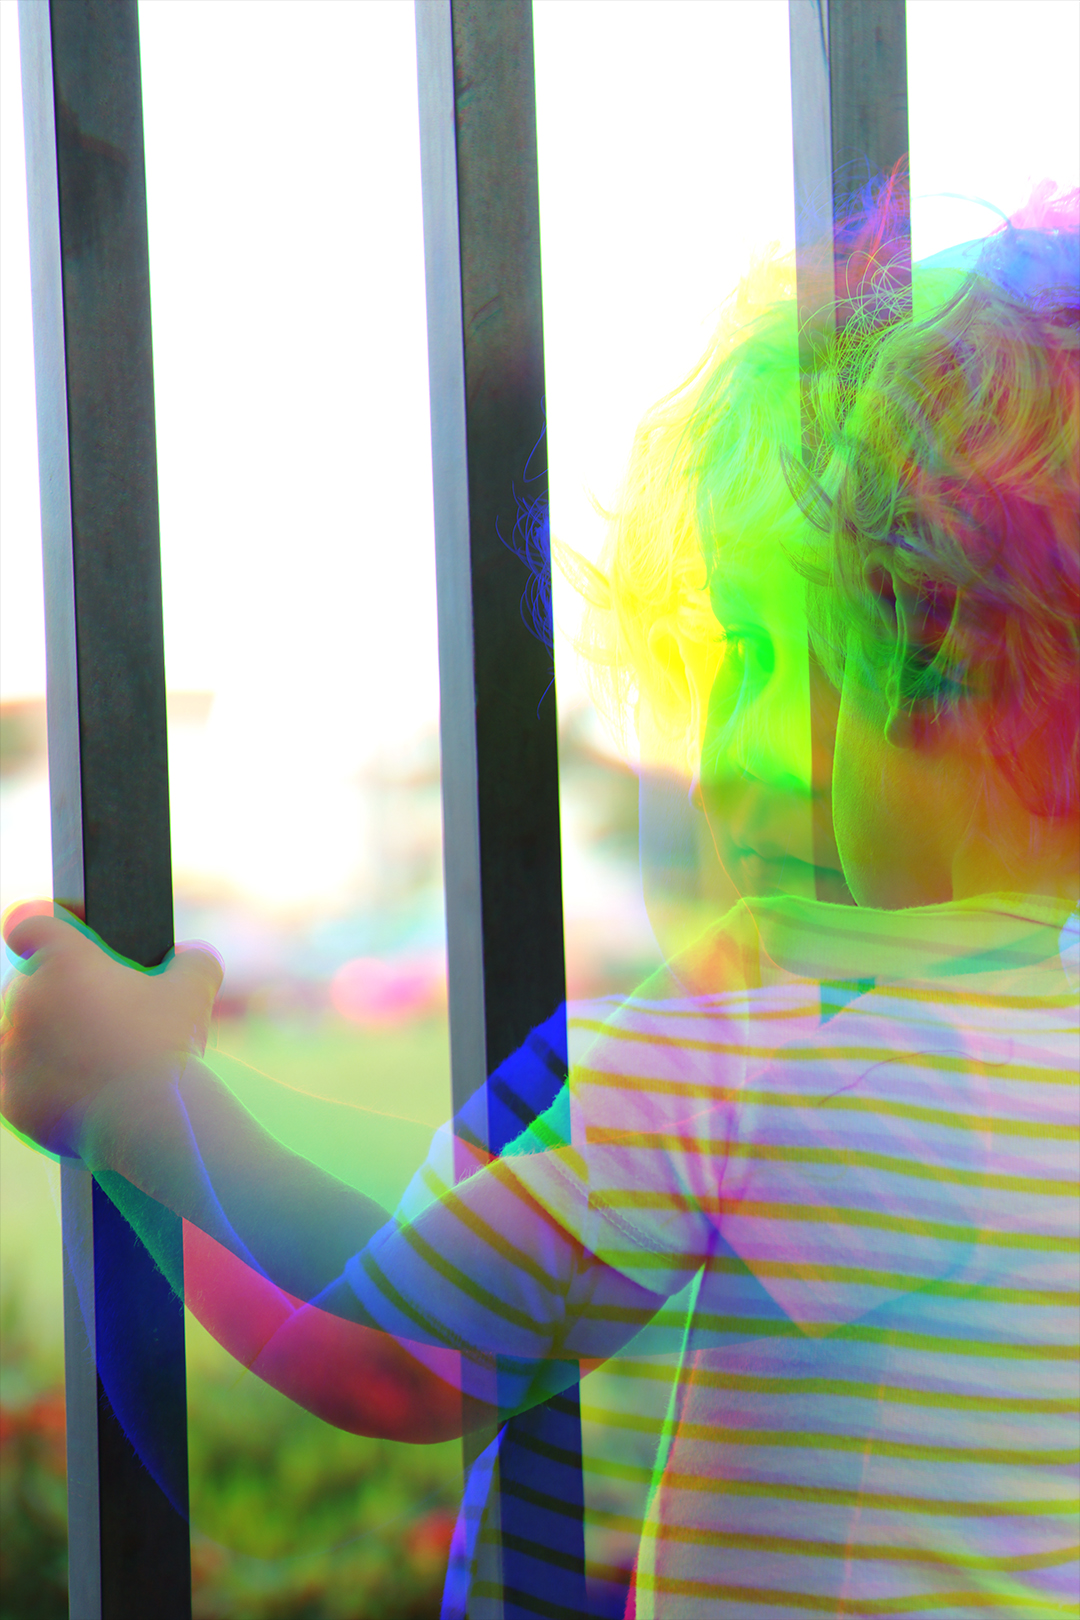
Example Finished Project
Here we have the final photo. I corrected the dimensions and the resolution (was 300dpi, but I saved out at 72dpi to keep it web optimized). I also played around with the scale of each image, to make it just a bit more interesting.
Project Requirements & Helpful Links
- Minimum of 3 Harris Shutter Effect Images.
- The image should be optimized for web for your portfolio, at 72 DPI.
- Make the final image is clickable, and can be loaded full resolution in the browser when clicked on in your portfolio, like the above example.
- There should be a separate link in the portfolio which allows a download of the various wallpapers.
- If you use your Google Drive for Downloading, you set this up pretty easily, just like in the last project.
- Be sure to save the image in JPG format.
- Be creative with your subject. The more creative and interesting, the better the grade you will get.
- Here is a sample tutorial that I used to Make a Harris Shutter Effect Image, but any tutorial that works for you is fine as long as your final product is correct.
- Show your before and after results, and explain your process when you post it to your portfolio.
- Make sure you have a link to the tutorial you followed inside your Portfolio Post, with credit to the author of the tutorial.
- The image should be optimized for web for your portfolio, at 72 DPI.
- If you Google the term Harris Shutter Effect, you will get a LOT of good inspiration, so don’t be shy to try something a little out of the box!
Project Grading Rubric
The purpose of this assignment is for each student to be able to demonstrate mastery of creating advanced photo editing product using DSLR cameras, and color channels in Photoshop. The creativity of the subject matter in the photo is also a part of the grade for this project. All images should be the correct size, color mode, resolution and load correctly on the WordPress Portfolio in order to receive a full grade.
| AMAZING 90-100 |
GREAT 80-89 |
GOOD 70-79 |
SUB PAR 60-69 |
POOR <60 |
| The Student provided a far above average example of the Harris Shutter Effect, and should feel pretty good. | Student produced an acceptable Harris Shutter, but there was something not quite perfect about it. | Student demonstrated an acceptable amount of technical skill, but didn’t create creative wallpapers, or vice-versa. | Student followed directions, but the final product was not at all professional enough. | Student did not follow directions, did not demonstrate proper use of the tools, or did not complete assignment. |
